
An active play gaming system that keeps ages 13+ engaged, active, and competitive!

Team
Shirley Nguyen, Isabella Tosaki, Aiden Soriano, Anna Kate Mattingly
Role
Design Research, Technology Development, 3D-Modeling, Physical Fabrication + 3D Printing + Silicone Development
Timeline
3 Months
Tools
Fusion 360, 3D Printing, Adobe Suite
Objective
For this studio project, each team was tasked with creating a highly developed interactive product/product system. Our team was assigned the topic of active play. After exploring this market and its typical demographic, we decided to focus on combating the increasingly digital and socially-isolated tendencies of today’s youth, specifically ages 13+.
With an established design goal in mind, our team set out to understand what play concepts were engaging for this age range while still meeting our goals of encouraging interaction in an increasingly digital age. We began our creative process with rapid iteration.

We synthesized feedback from our peers on what concepts seemed exciting or engaging. From there we were able to single out on one concept: a wall-mounted game system that flashed lights that users have to jab with a controller.
After singling out this concept, we began to develop what that should consist of and look like. Three main features stood out from our further concept development:


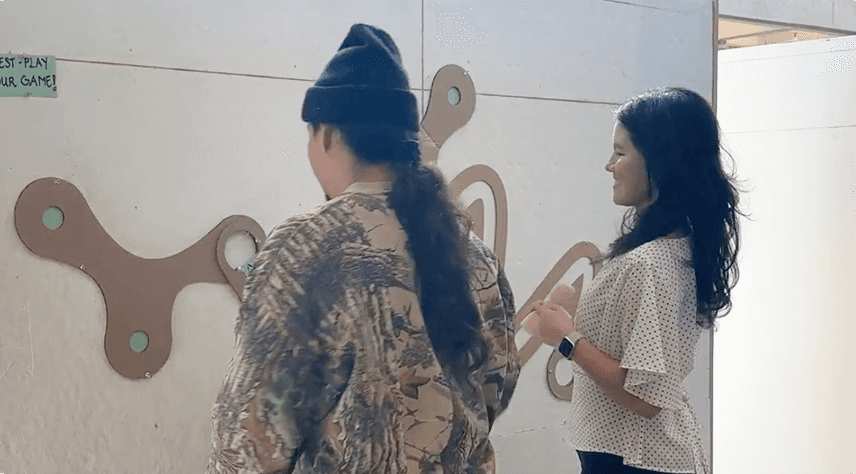
With these design parameter established, we began to explore form and functionality. We created a series of low-fidelity sketch models to test their ease and joy of interaction.
Both ourselves and our peers “play-tested” our models. We simulated desired play patterns by having our models “light up” with a laser pointer. Our participants tried to hit these flashing lights as quickly as they could. The quick jabbing with friends was engaging and exciting for our users.

Concept

From our game-play and form testing we were able to condense our idea into a single concept:
A modular game play system that attaches to users walls easily. The wall pieces rapidly light up, challenging users to hit them with their game remote as quickly as possible. The system will have three distinct game-play modes to allow users to either perfect their skills or play with others.
Functionality + 3D Modeling
We needed to understand how these parts would interact and communicate with each other. It was important to us that the technology was considered on the same level as the overall form. With this in mind we began to research what was optimal for the functionality of our system so our models could accommodate any parts neccesary for function.

We needed to understand the following:
How do the main hub + modules connect to the wall?
How do the wall pieces communicate game information to main hub?
How does the controller process game information to give live feedback?
We made the following decisions:
Command strips for wall adhesion
Magnetic 4 pin connection for piece to piece connection
IR communication between the base of the controller and the wall pieces
With these decisions in mind, we understood the technical requirements of our system and were able to begin CAD development.


Fabrication + Final Product
With our 3D modeling completed, we began to finalize our product, Osmo.
We 3D printed our files, in addition to CNC cutting the bases of our wall pieces and using complex silicone molds to create grips and cushions for our Osmote and Osmod pieces. I was responsible for the mold + form development of all silicone pieces and learned how to over-mold silicone to create complex, functional parts.


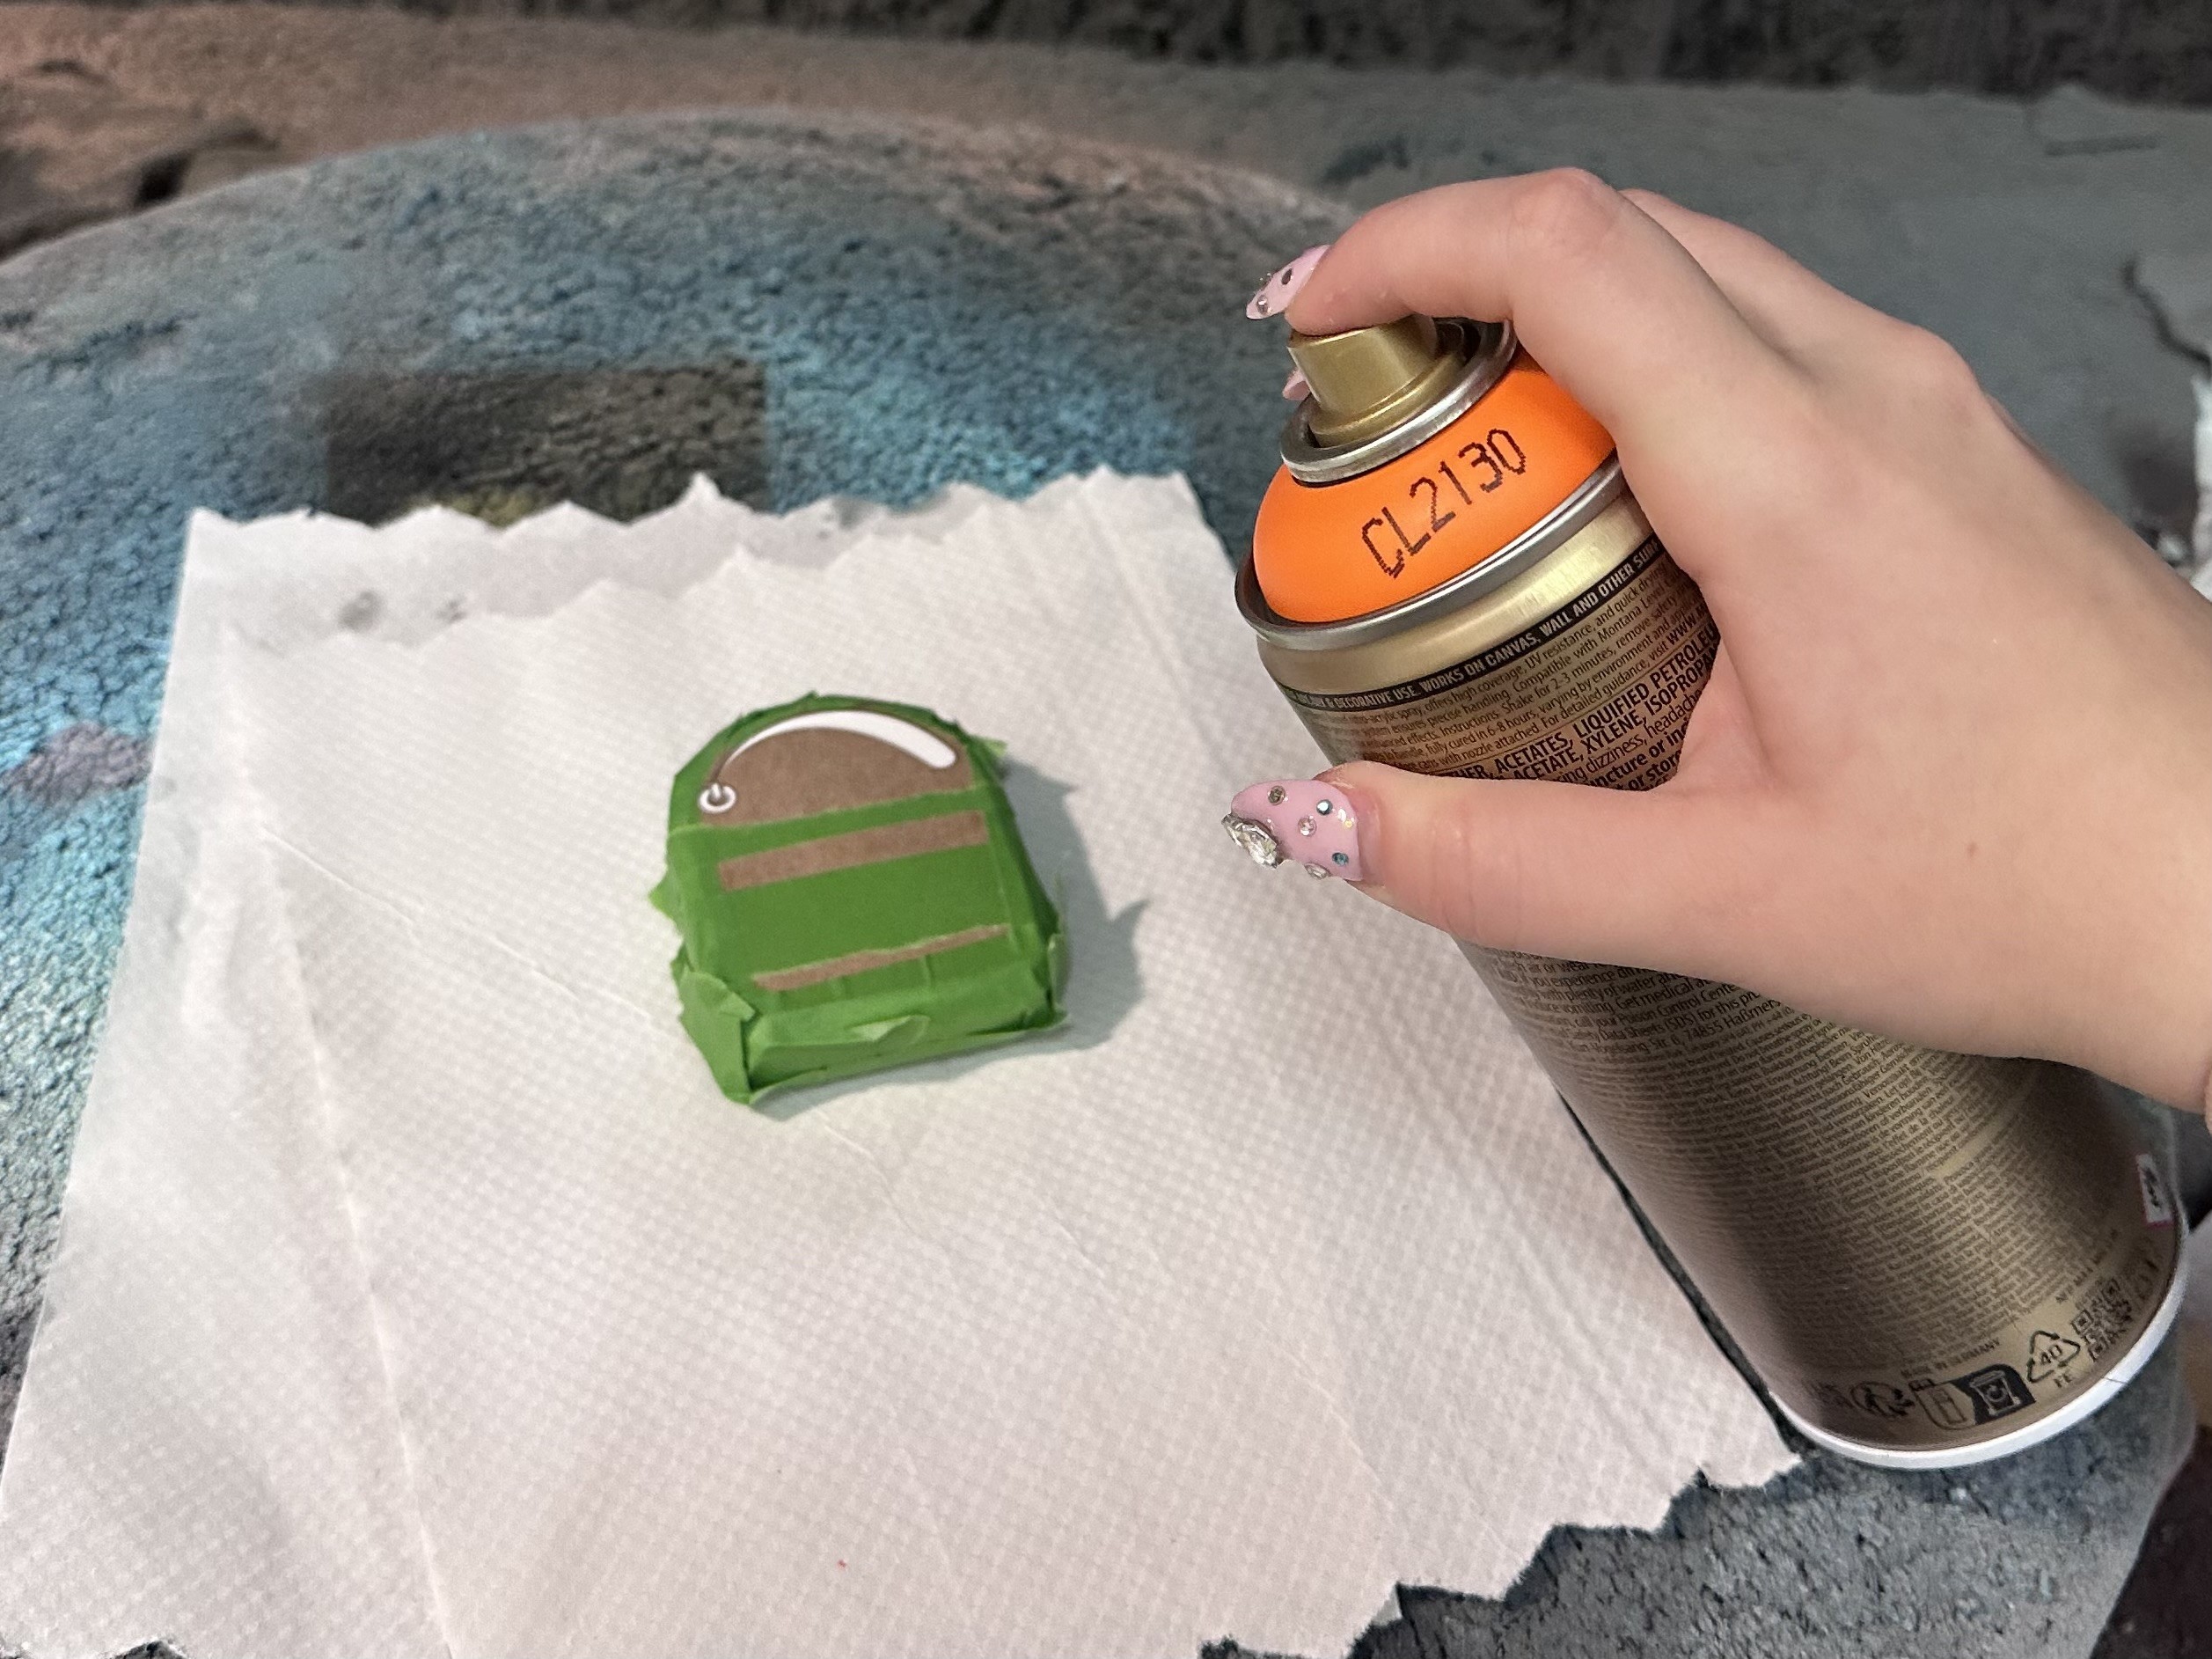
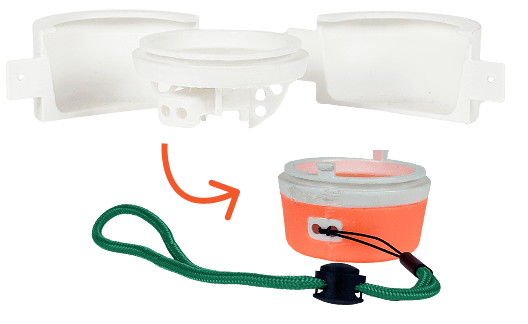
Once all individual pieces were created, we sanded and painted parts where necessary and then assembled into our final product, Osmo!


